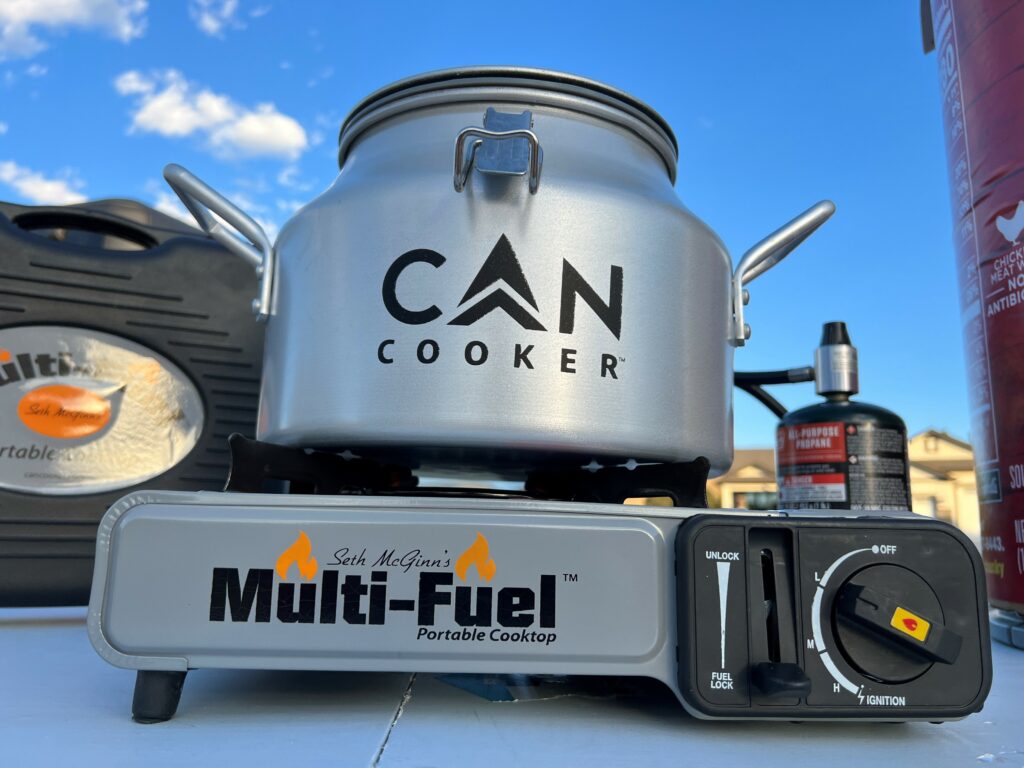
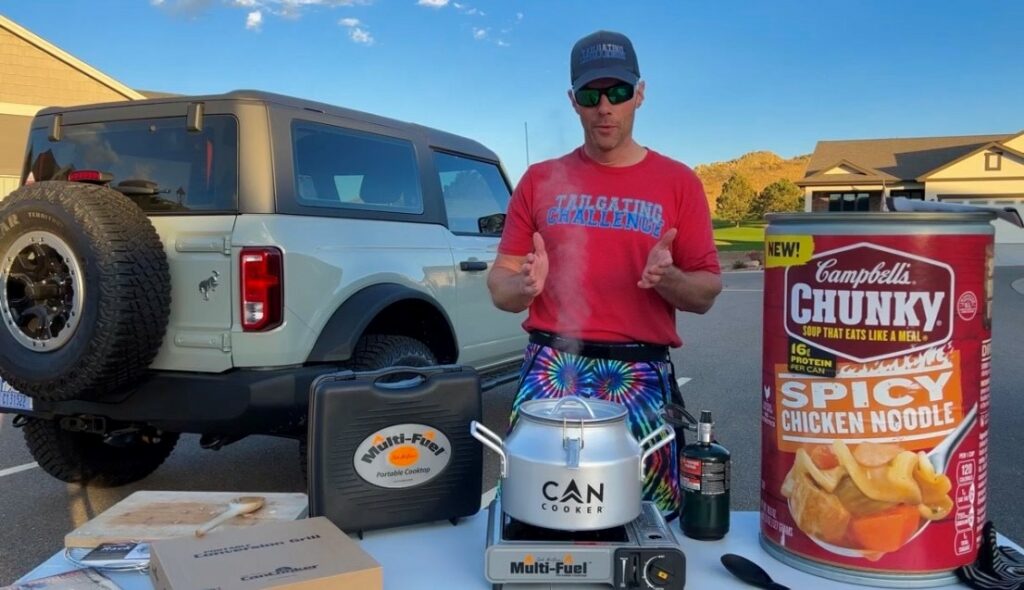
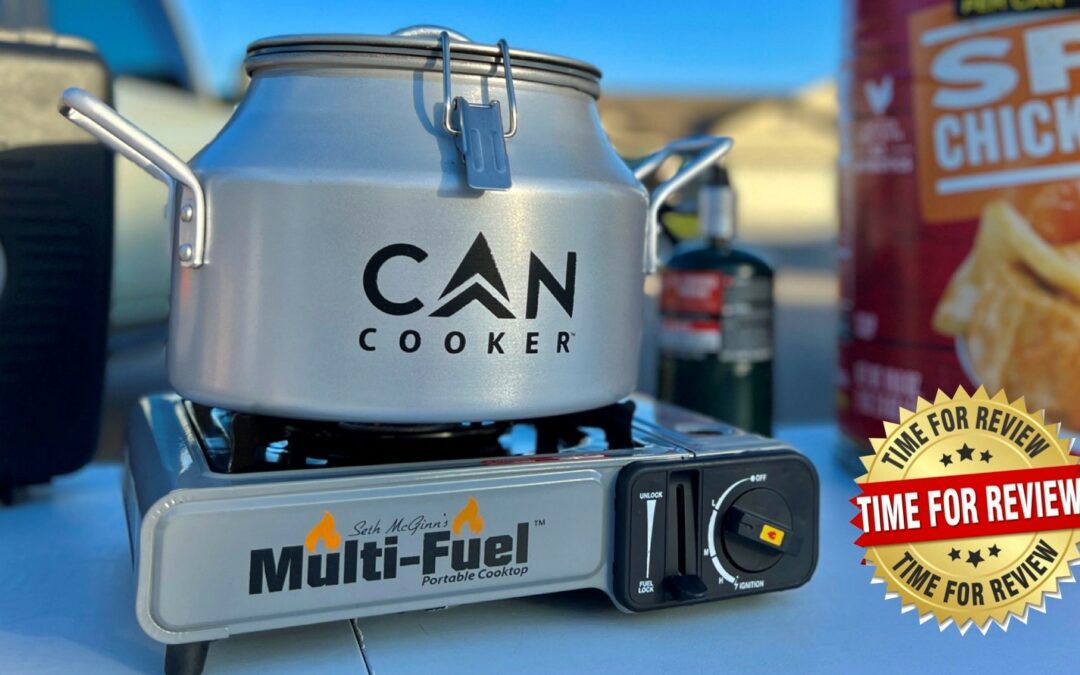
The perfect tailgate must have food. In the past, the first item to cook your food that came to mind was a grill, but now there is a new way to cook on the block. In this blog we check out the Can Cooker and how it can be the perfect compliment to your grill. From chili, to soup, stew, to queso and more the Can Cooker is ready to expand your tailgating menus. Now onto the Can Cooker Review.
Can Cooker Features
-Food Grade Anodized Aluminum
-Non Stick Coating
-Can be used from campfires to grills
-High Temp Silicone gasket
-2 Gallon Capacity (for Jr edition, they also make a 4 gallon edition too)

Let’s Get To Cooking
Let me speak frankly here, in the past when tailgating I have only used grills, so even mentioning something other than a grill to cook tailgating grub, made me pause. The Can Cooker caught my eye as I love checking out new ways to improve my tailgate and to challenge my own preconceived notions.
In this test we check out the Can Cooker Jr that can feed 8-10 people depending on what you’re cooking. Speaking of cooking, in this review we cook up some tailgating soup. Now let’s get into the steps to prep your Can Cooker for successful cooking.
How to Use Your Can Cooker
-Prepare for action by washing your Can Cooker before the first use
-Decide what you are going to cook up. There is a cookbook that has a plethora of unique recipes, or you can come up with your own.
-Load it up! Place any veggies on the bottom, followed by the meat. Next add seasoning and liquid (they recommend 12-32 ounces of liquid)
-Attach the lid by securing the latches
-Fire up the heat source. In our testing we used the Portable Cook top, but you can also use campfires, stoves, grills, or even a stove top. Reminder to use low to medium heat, regardless of heat source.
-Be on the lookout for steam! You should see steam in approximately 15 minutes.
-Time the cook. Most recipes are steamed to perfection in 25-35 minutes.
-Food is ready, but be careful the entire Can Cooker is going to be extremely hot. Use caution and use gloves.
-Let food sit 5-10 minutes to cool off
-Open lid carefully. Trust me the steam can BURN!
-Empty the Can Cooker
-When done rinse the Can Cooker with soap and water, do not place in dishwasher
What Did We Think
We followed the steps above to make our tailgating soup. One thing I noticed when making soup is that this Can Cooker Jr edition was able to hold more than the recommended 32 ounces of liquid. With that being said, use the 12-32 ounces as a guideline, but it will depend on what recipe you are cooking up.
I was impressed with the Portable Cook top. It fired up with ease and got the Can Cooker steaming in less than 10 minutes. I’ve said it many times, but remember this unit gets extremely hot and the steam can also burn.
After 35 minutes I removed the soup from the heating source and let it sit. Once we poured it up the soup was delicious and I realized then that the Can Cooker doesn’t have to replace your grill, but it can complement your grill to give you more versatility in creating unique tailgating dishes.

Conclusion
PROS: high quality, easy to use, heats up fast, allows unique cooking at tailgate, can be used on a variety of heat sources
CONS: more of a reminder this unit gets scorching hot so please ensure no one touches while in use
Overall, if you’re looking to step your tailgating spread up with some more creative dishes, then it’s time for the Can Cooker to work it’s way into your tailgating lineup.
Learn more and get your own by visiting CAN COOKER.
Find this and many amazing products that we’ve tested in our AMAZON STORE. A little bit of every purchase goes back to help support our honest reviews of the products you love.
Thanks for reading our blog on the Can Cooker Review. Let us know what you think and any questions. Check out our short video below and while you’re on YouTube make sure you hit that SUBSCRIBE button!
Love learning about all the new products that we get to test? Take a minute and check out our latest PRODUCT REVIEWS.
Written By: Luke Lorick 11/2/23


